Surya means ‘Sun‘ and namaskar means ‘bowing down in respect’. Suryanamaskar, thus, means welcoming or greeting the sun, or bowing down in respect to the sun.
Suryanamaskar is a sequence of powerful poses. Practicing Suryanamaskar is best done early morning on an empty stomach. But in this fast paced life, anytime is a good time to work out for your body. There are many versions of Suryanamaskar available. This particular sequence is introduced by the Raja of Aundh. Make sure you follow all the steps properly.
Precautions- AVOID if you have any severe injury or severe spinal problem, high blood pressure or heart problems. But you can always start moving slowly by taking proper guidance from your Doctor. Take it slow and slowly increase the rounds and pace. And yes don’t forget to follow the breathing sequence.
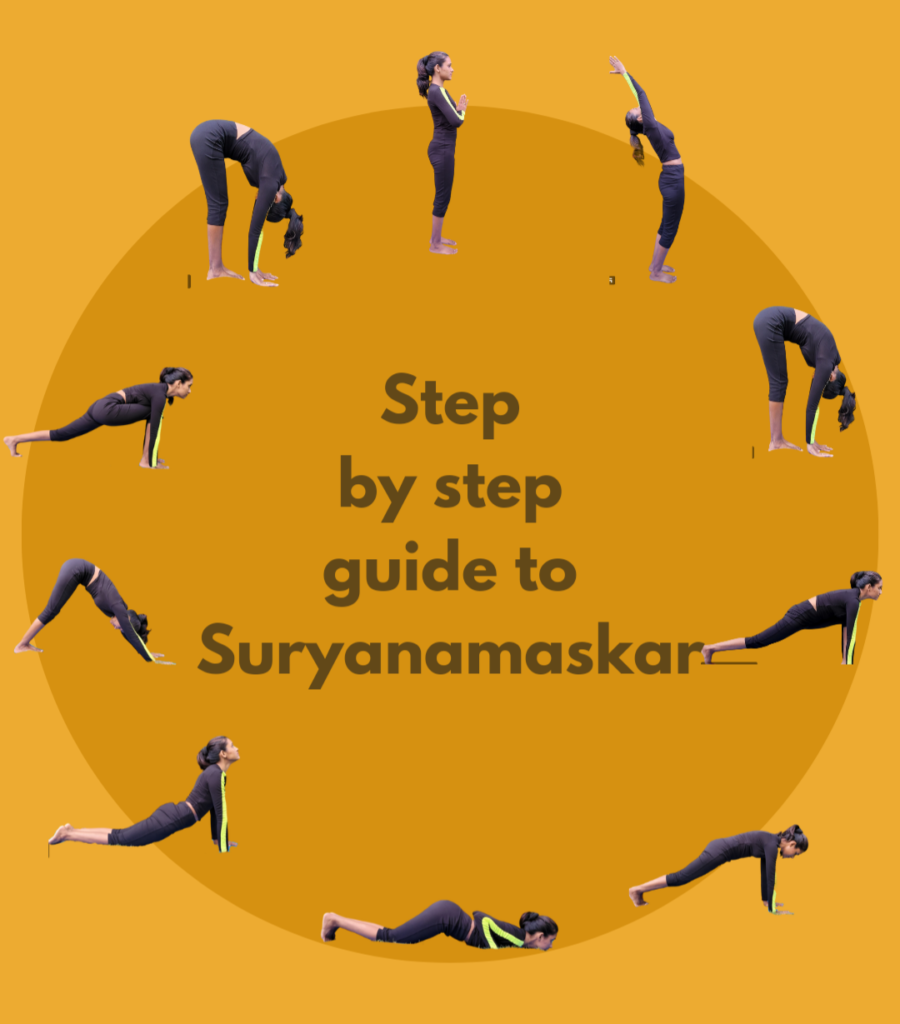
Here’s a step by step guide to Suryanamaskar:
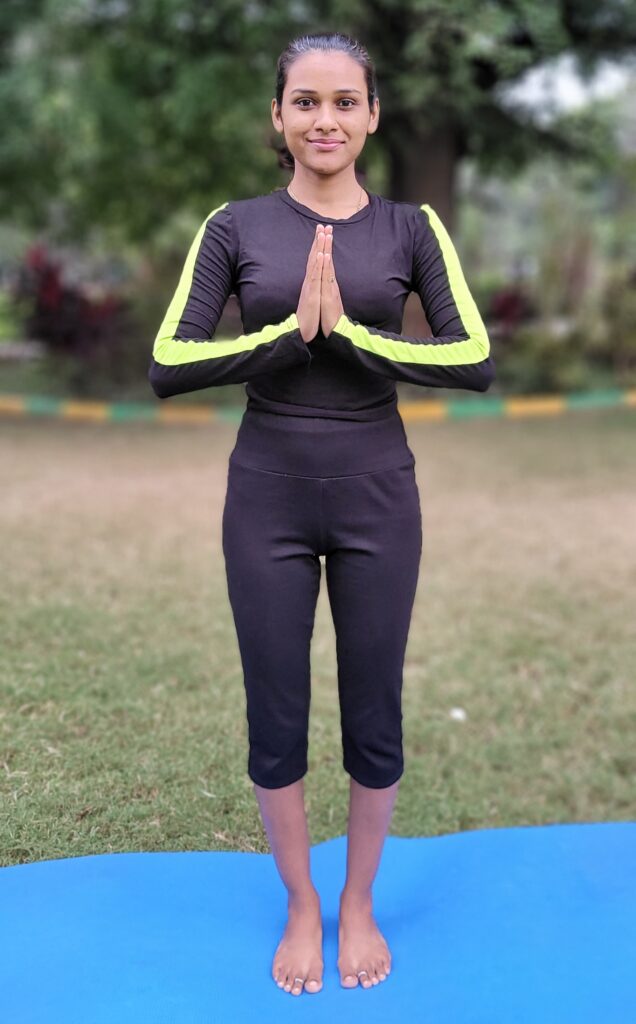
Starting pose– Pranamasana/ Prayer pose.
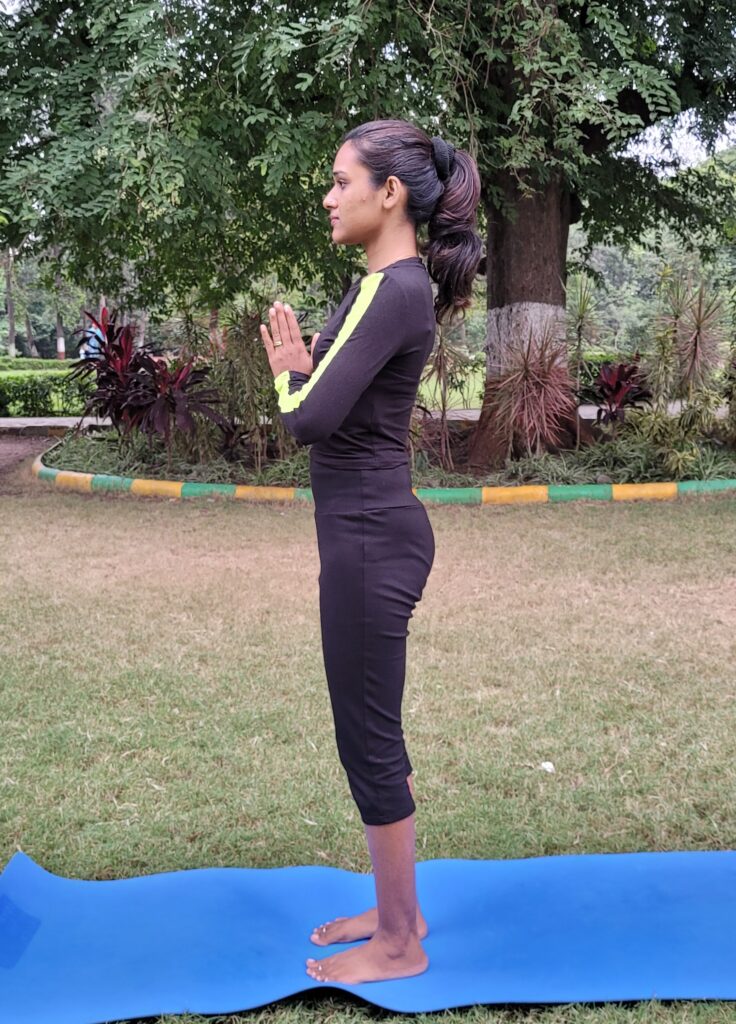
Stand in front of your mat, keeping your feet together. Make sure your weight is equally distributed on both the feet. Keep your chest open and relax your shoulders. As you breathe in, lift both your hands up. Exhaling bring your palms together in front of your chest in namaskar /prayer pose, thumbs touching the sternum.
Step 1– Hasta Uttanasana/ Raised arm pose
Inhaling bring your palms up over your head and back. Look up and slightly push your pelvis forward which will deepen the stretch.
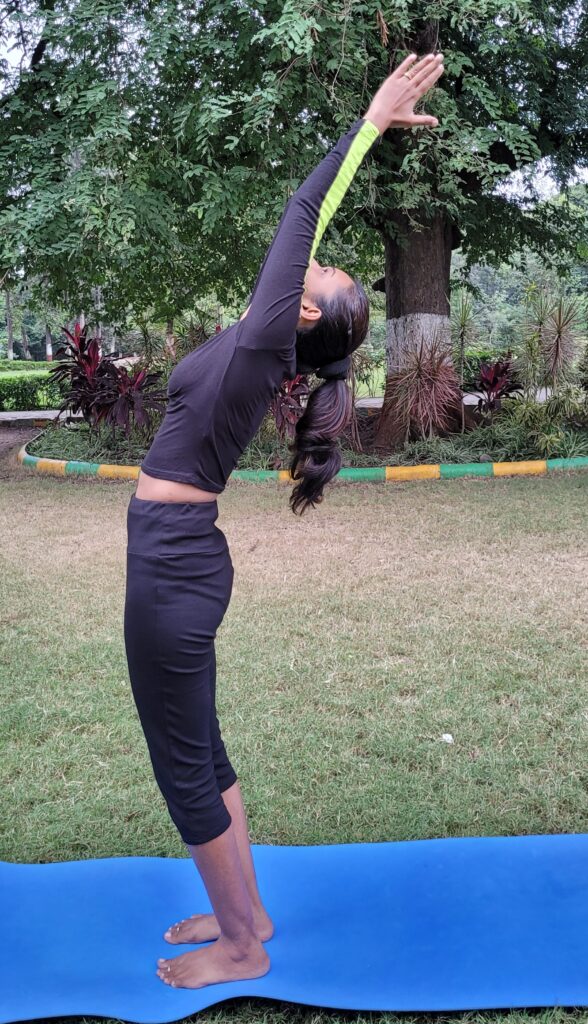
Benefits- Stretches and tones abdomen muscles.
Step 2- Uttanasana or Standing forward fold
Exhale while lowering arms down and fold your torso into Uttanasana . Keep your spine long and erect.
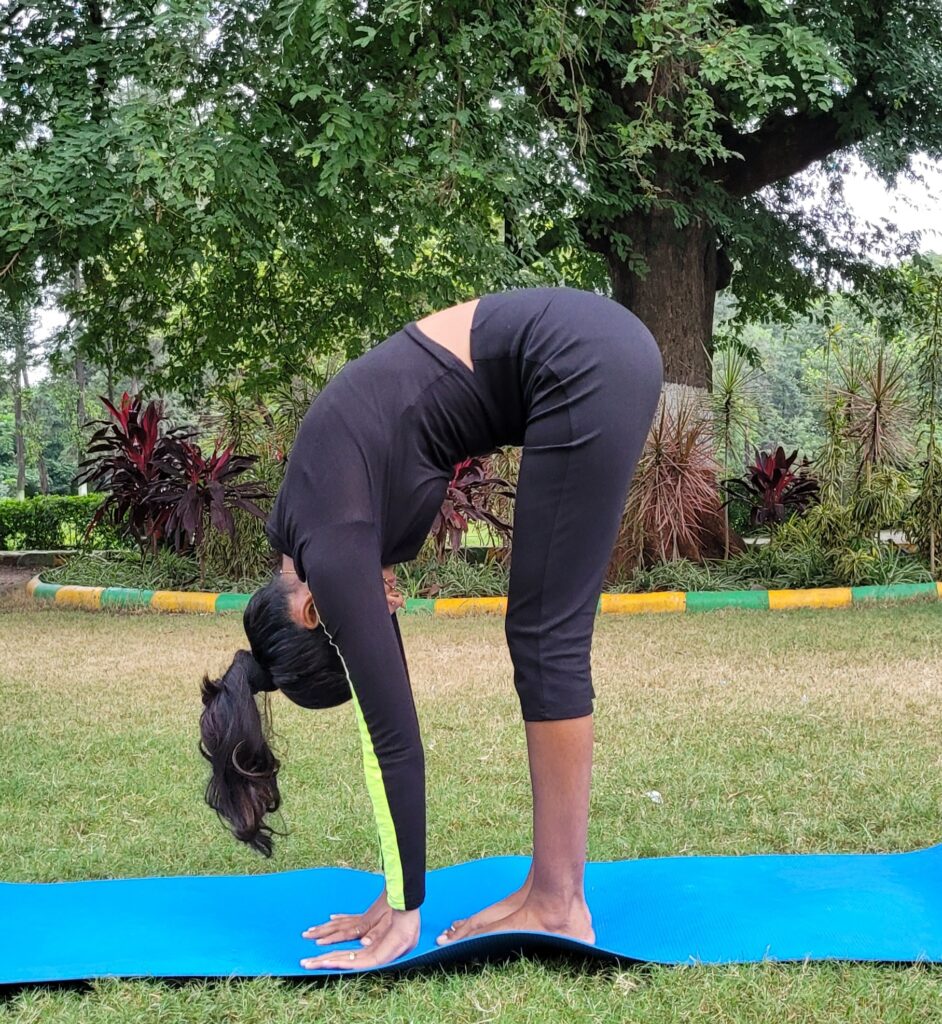
Benefits: Great stretch for the spine and improves flexibility. It also stretches the hamstrings and strengthens the legs, shoulders, and arms muscles.
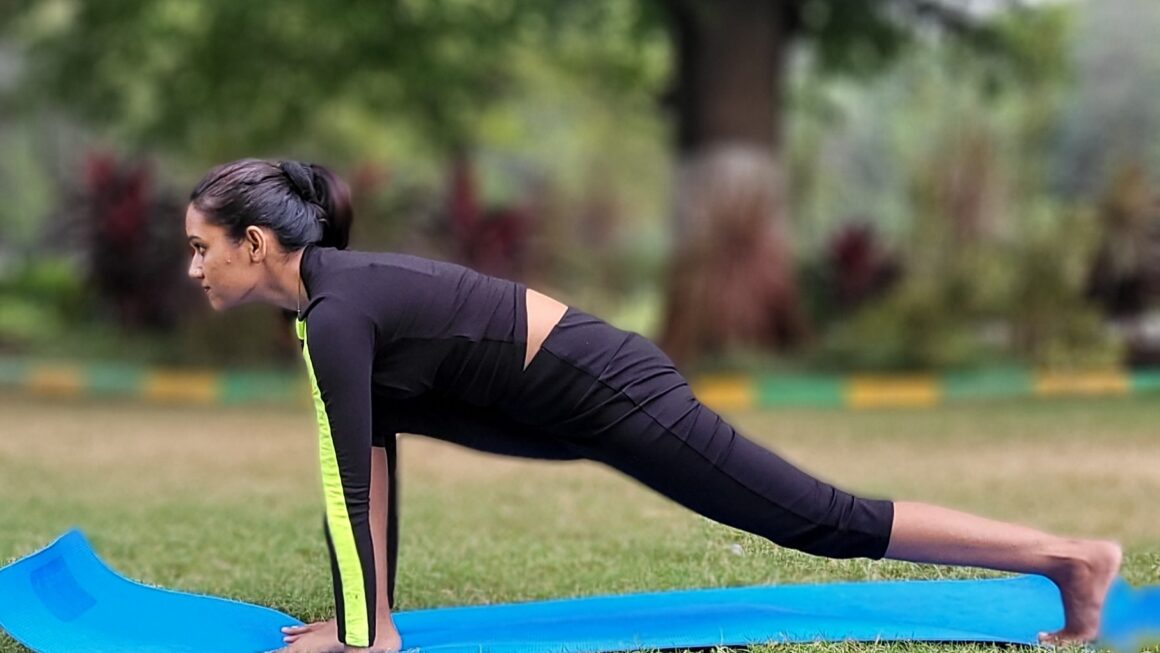
Step 3- Ashwasan chalanasana/ Equestrian pose
Inhale take the left leg back into a lunge, keeping your right foot in between your hands, palms pressed to the ground.
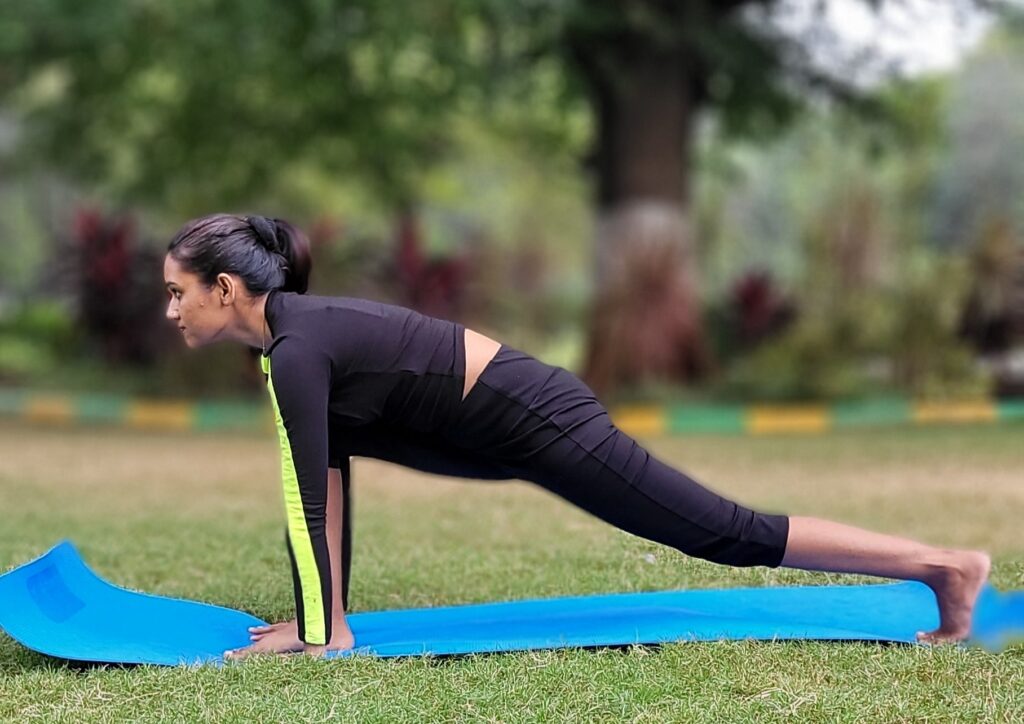
Benefits: Strengthens the leg muscles and spine.
Step 4- Dandasana/Plank
Exhale go into plank. hold for 5 counts or take a few breaths here. Then step the left foot back beside the right, lift your hips up into the air. Bring the whole body in a straight line and keep your palms under your shoulder.
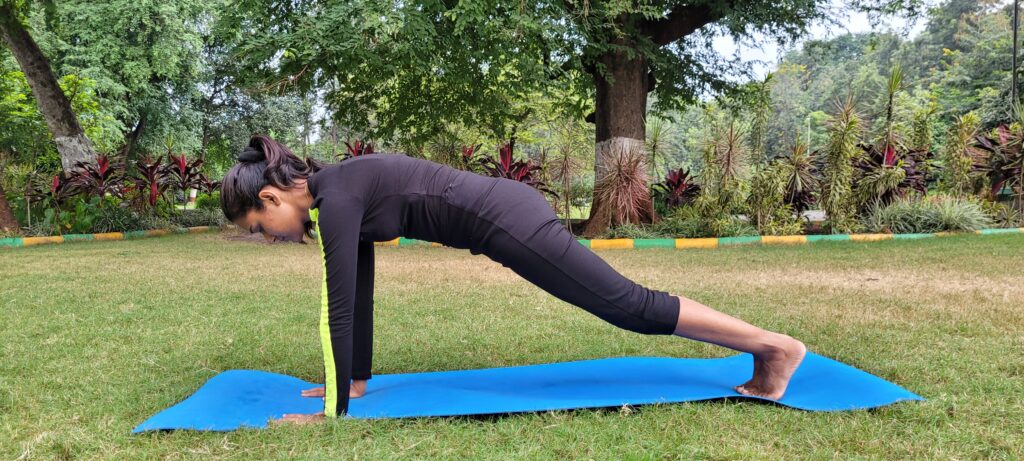
Benefits- Improves Posture.
Step 5- Ashtanga Namaskar/ Eight Limbed Pose
Exhaling gently touch your knees, chest and chin to the ground. Raise your hips a little bit. Keep your elbows against your sides; giving you more strength. The two hands, two feet, two knees, chest and chin (eight parts of the body) should touch the floor making it the ashta (eight) anga (limbed) pose.
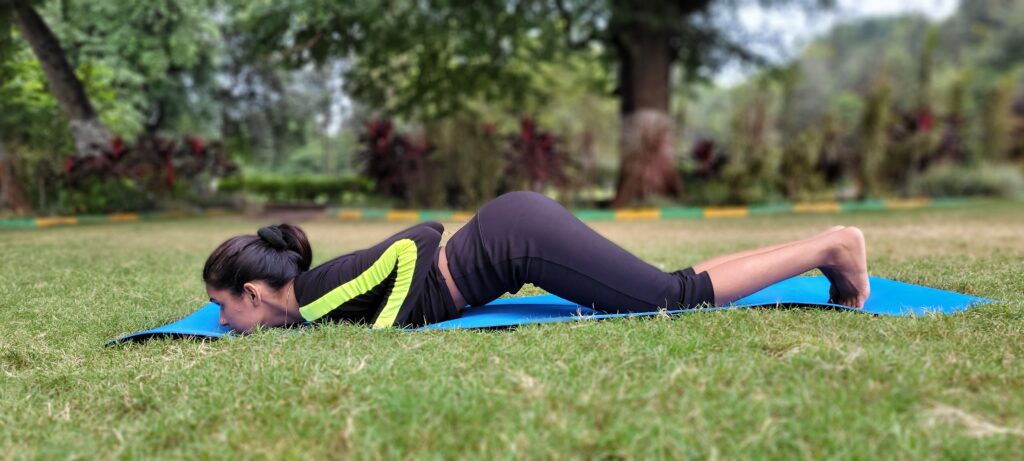
Benefits- Strengthens the back muscle and improves spine flexibility.
Step 6- Bhujangasana/Cobra Pose
Inhaling slide forward , arch your torso up and raise your chest like a cobra. You can keep your elbows bent in this pose with the shoulders down and away from the ears. Look up at the ceiling.
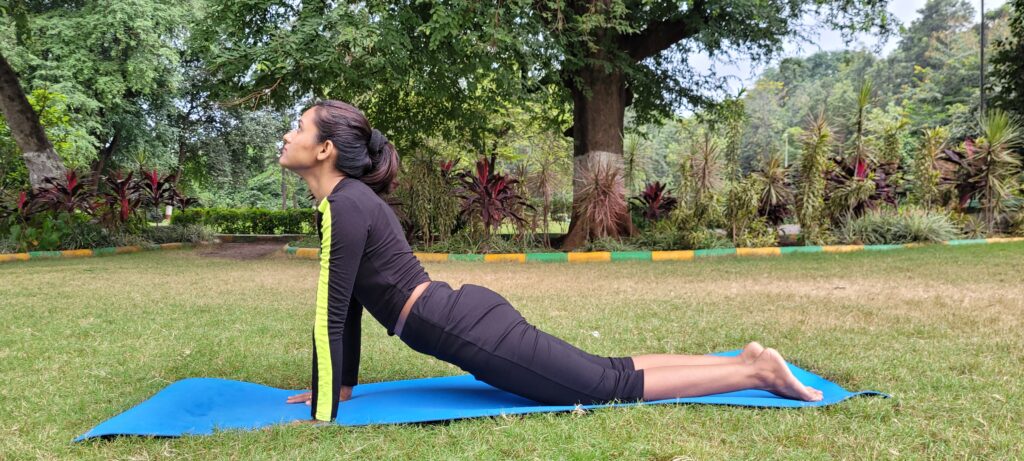
Benefits-It stretches the shoulders, chest, back, leg muscles, all at once.
Step 7-Adho mukha svanasana/ Downward Facing Dog
Exhaling lift the hips and the tailbone up to bring the body into an inverted ‘V’ pose. Try and keep the heels on the ground and keep the tailbone lifted up.
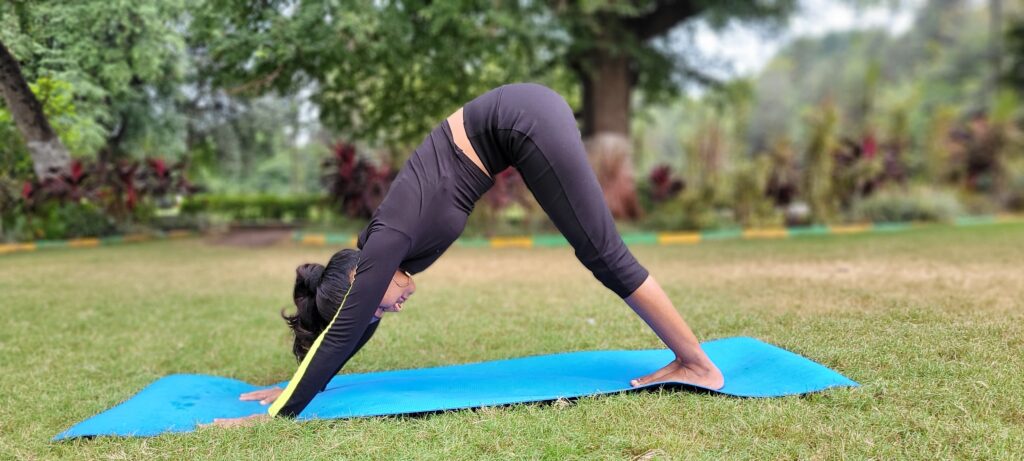
Benefits- Strengthens the muscles of the arms and stretches spine.
Step 8- Ashwasan chalanasana/ Equestrian pose
Inhaling step the left foot forward into lunge or try the variation- put the right knee down take the left leg forward into lunge. Left foot should be in between both the arms and keep pushing the pelvis forward.
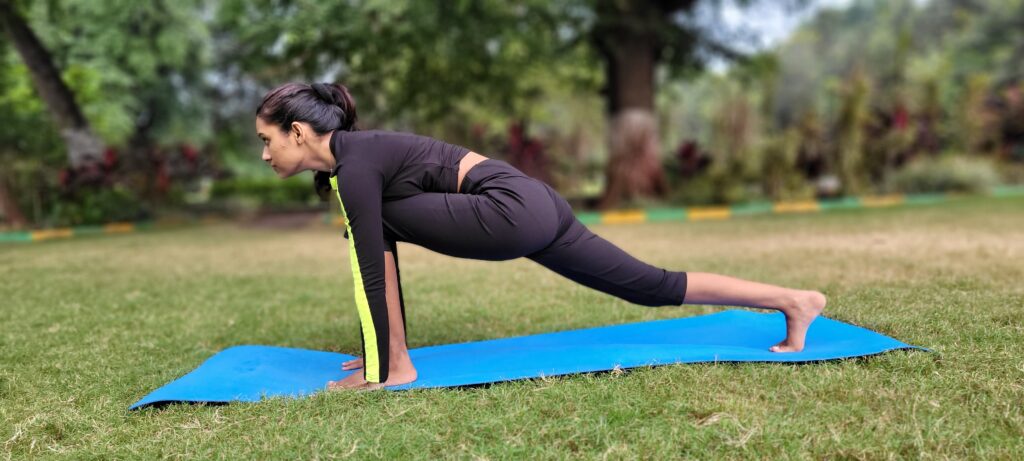
Benefits-Strengthens leg muscles and spine.
Step 9- Uttanasana or Standing forward fold
Exhaling swing the right leg forward into Uttanasana. Keep the palms on the floor.

Benefits-It improves blood circulation, improves spine flexibility.
Step 10- Pranamasana/ prayer pose
Exhaling straighten the body. Return to your starting point. Keep your hands to your sternum. Thumbs pressing the chest. Relax in this position and observe the sensations in your body
This completes one set of Surya Namaskar. Complete the round by repeating the steps. Only this time, start with taking the right foot behind in step number 3 and bringing the left foot forward in step number 8. Once done, you would’ve completed one round of Surya Namaskar.
What are the Benefits of Suryanamaskar?
- 12 rounds of Suryanamaskar is a great warm up and prepares the body for asana practice.
- It stretches and strengthens the whole body and improves efficiency of internal organs.
- It increases the prana in the body and helps to remove energy blockages.
- Helps to balance Kapha, Pitta, and Vata.
- Helps maintain cardiovascular health and stimulates the nervous system.
- Helps in toning and flexibility.
- One of the best exercise for weight loss management.
- Strengthens the immune system.
- Enhances cognitive functions.
- It strengthens the lungs.
- Relaxes the mind
Suryanamaskar has so many benefits. It improves overall health. Even if you are a beginner, Suryanamaskar is very easy to follow and do. Start your Suryanamaskar Journey now.
You can watch Suryanamaskar Tutorial Video on my YouTube Channel. Subscribe the channel for more detailed videos of yogasana. Stay tuned for more such content.